Epoxy resin is a versatile and durable material that can be used in a variety of craft projects and applications. Although it may seem complicated at first glance, handling epoxy resin correctly is easy to learn with the right knowledge and techniques. In this article, we will cover the basic steps for mixing and using epoxy resin to help you create successful and impressive projects.
Step 1: Preparation is key
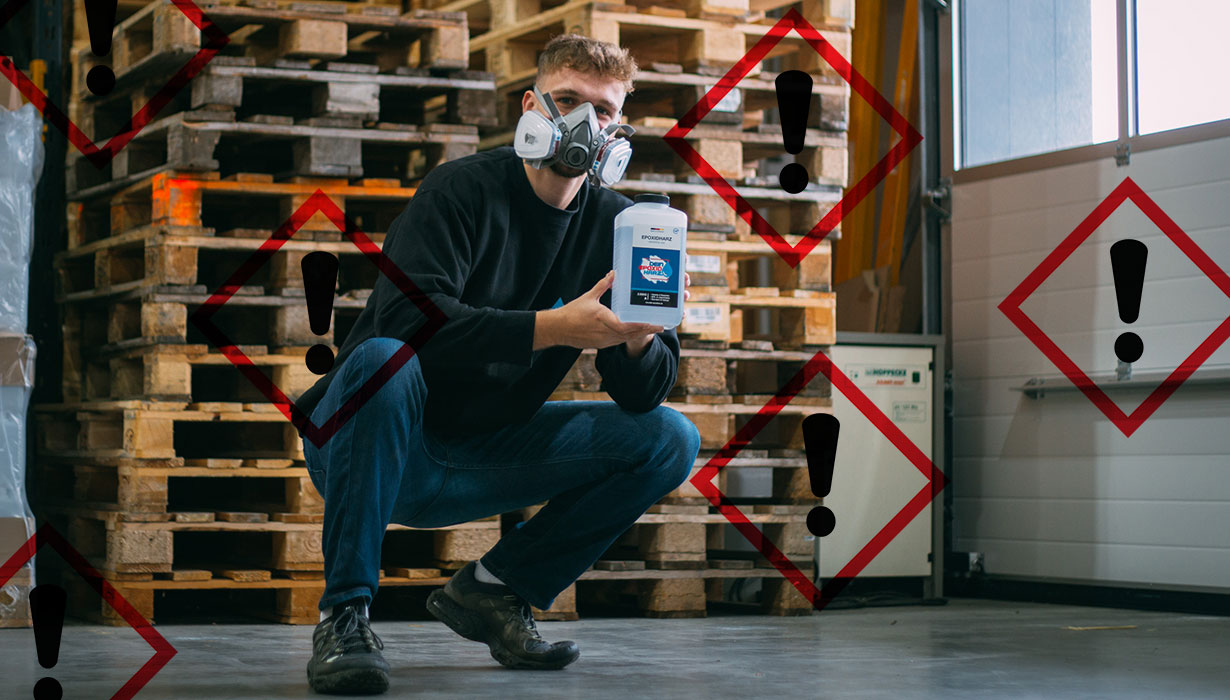
Before you begin mixing epoxy resin, thorough preparation is essential. Ensure your work area is well-ventilated to minimize fumes. Wear personal protective equipment such as gloves , safety glasses, and, if necessary, a respirator to protect yourself from potential irritants. Also, lay down a drop cloth or newspaper to protect the work area.
Step 2: Pay attention to the correct proportions
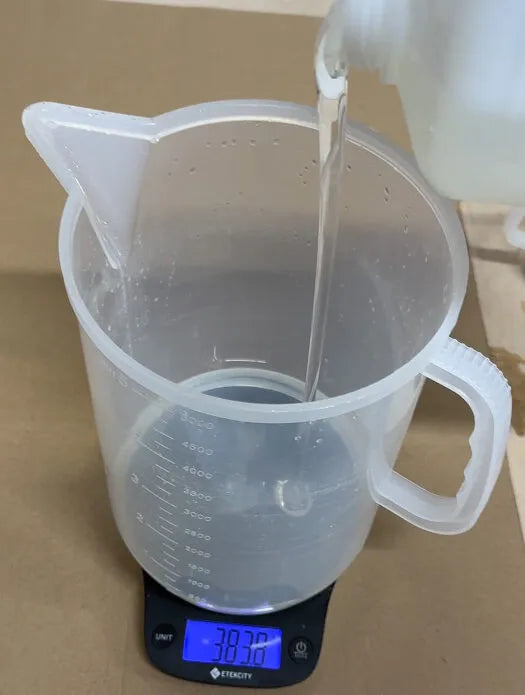
Mixing epoxy resin requires precise adherence to the mixing ratios. The ratio of resin to hardener can vary depending on the product, and even slight deviations can lead to undesirable results. Use an accurate scale to measure the correct quantities and mix the components thoroughly to ensure a homogeneous mixture.

Step 3: Thorough mixing for optimal results
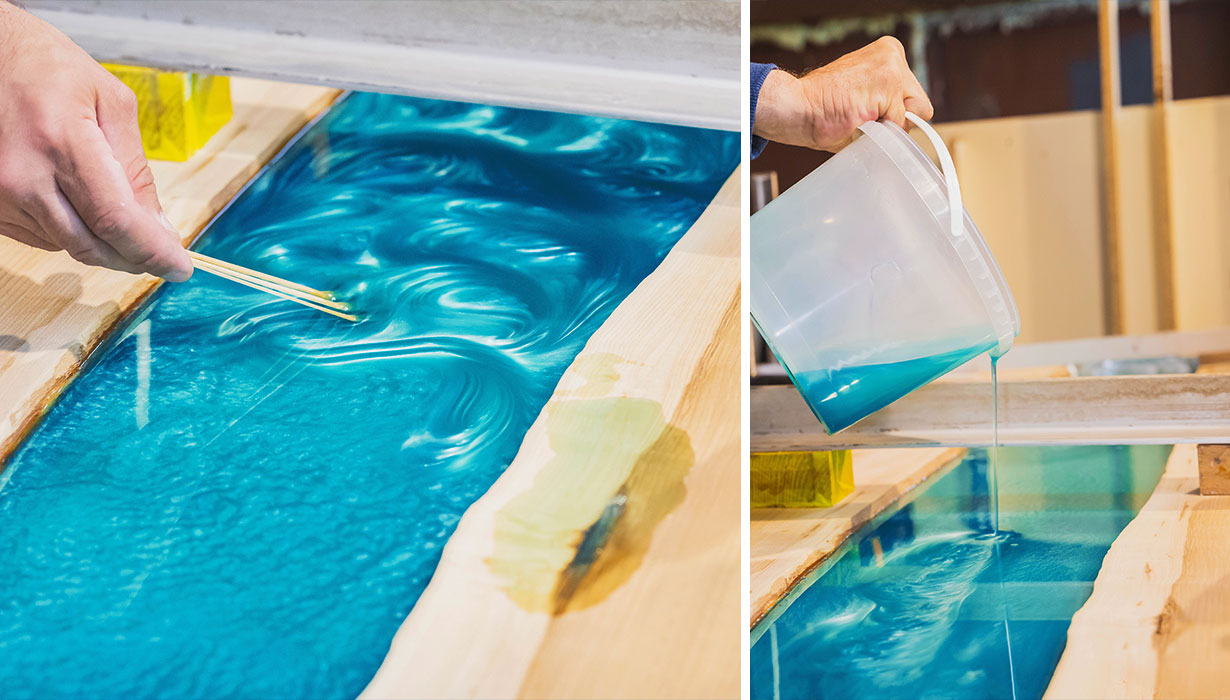
Once you have measured the correct amounts of resin and hardener, it is important to mix them thoroughly. Use a clean mixing container and a stirring stick to ensure a smooth consistency. Stir the mixture slowly and thoroughly to minimize air bubbles. Be sure to stir the sides and bottom of the container as well to guarantee complete mixing. The mixing time may vary depending on the product, but be sure to follow the instructions precisely for best results.
Expert tip: It is recommended to transfer the mixed epoxy resin to another container once or several times to ensure perfect mixing.
Step 4: Add colors and fillers
If you want to add colors or fillers to your epoxy resin, it's important to use suitable materials that are compatible with epoxy resin. Be sure to choose high-quality pigments and dyes to achieve a vibrant and durable finish. Fillers such as glitter, wood shavings, or metal powder can give the resin a unique texture and appearance. Carefully mix the colors and fillers into the epoxy resin to ensure even distribution.
Step 5: Apply and allow to harden
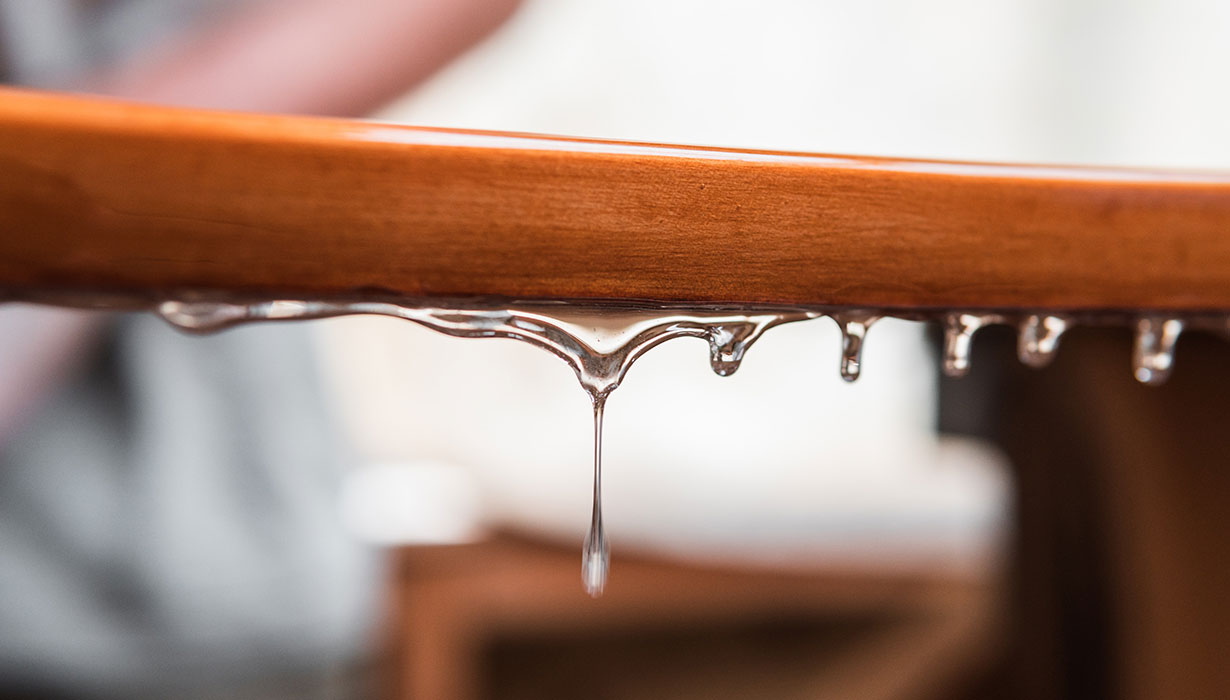
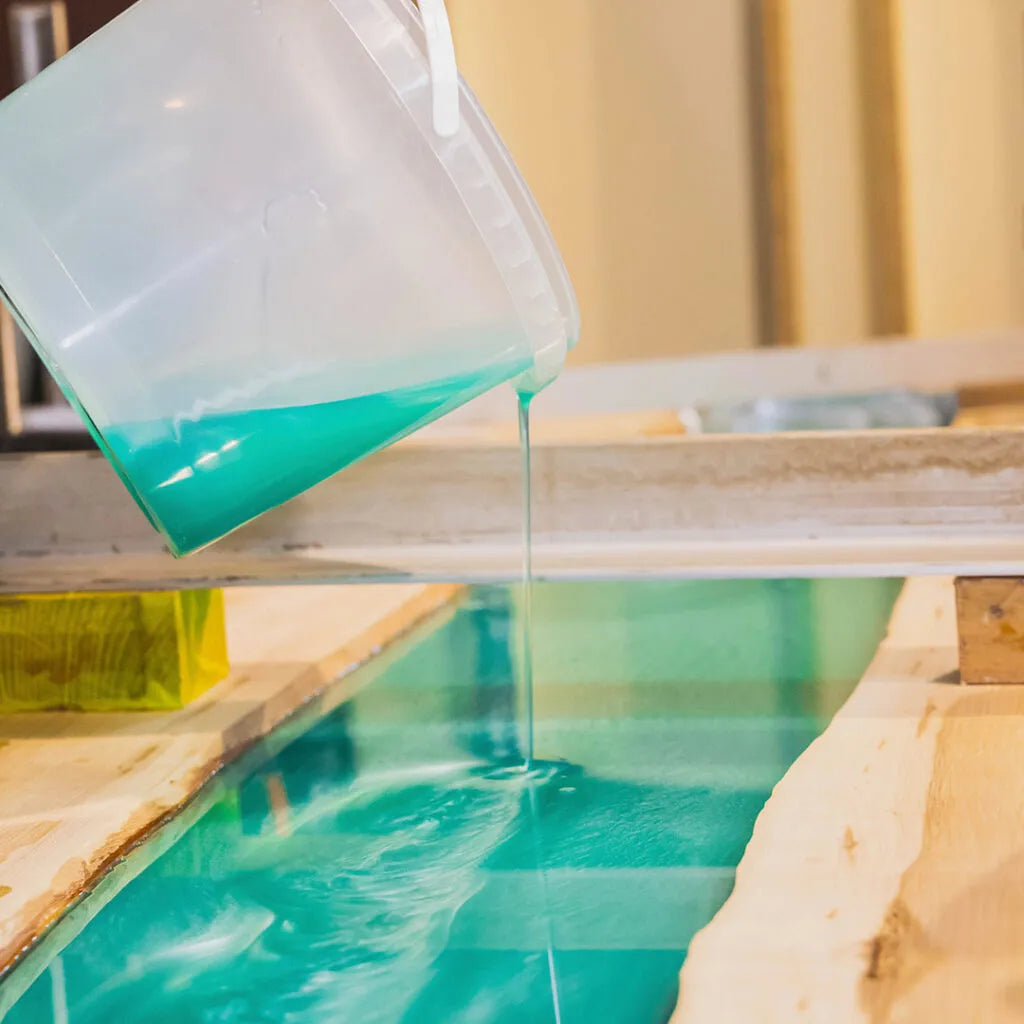
Expert tip: After mixing the epoxy resin, let it "sit" for a few moments. The ideal temperature for working with the material is 37°C (98.6°F). Using an infrared thermometer is recommended. Once you have thoroughly mixed the epoxy resin, it's time to apply it to your desired surface. Use a brush, roller, or sprayer to spread the resin evenly. Be careful not to apply the epoxy resin too thickly to avoid unwanted drips or unevenness. For best results, allow the resin to cure completely according to the manufacturer's instructions.
Step 6: Aftercare and maintenance
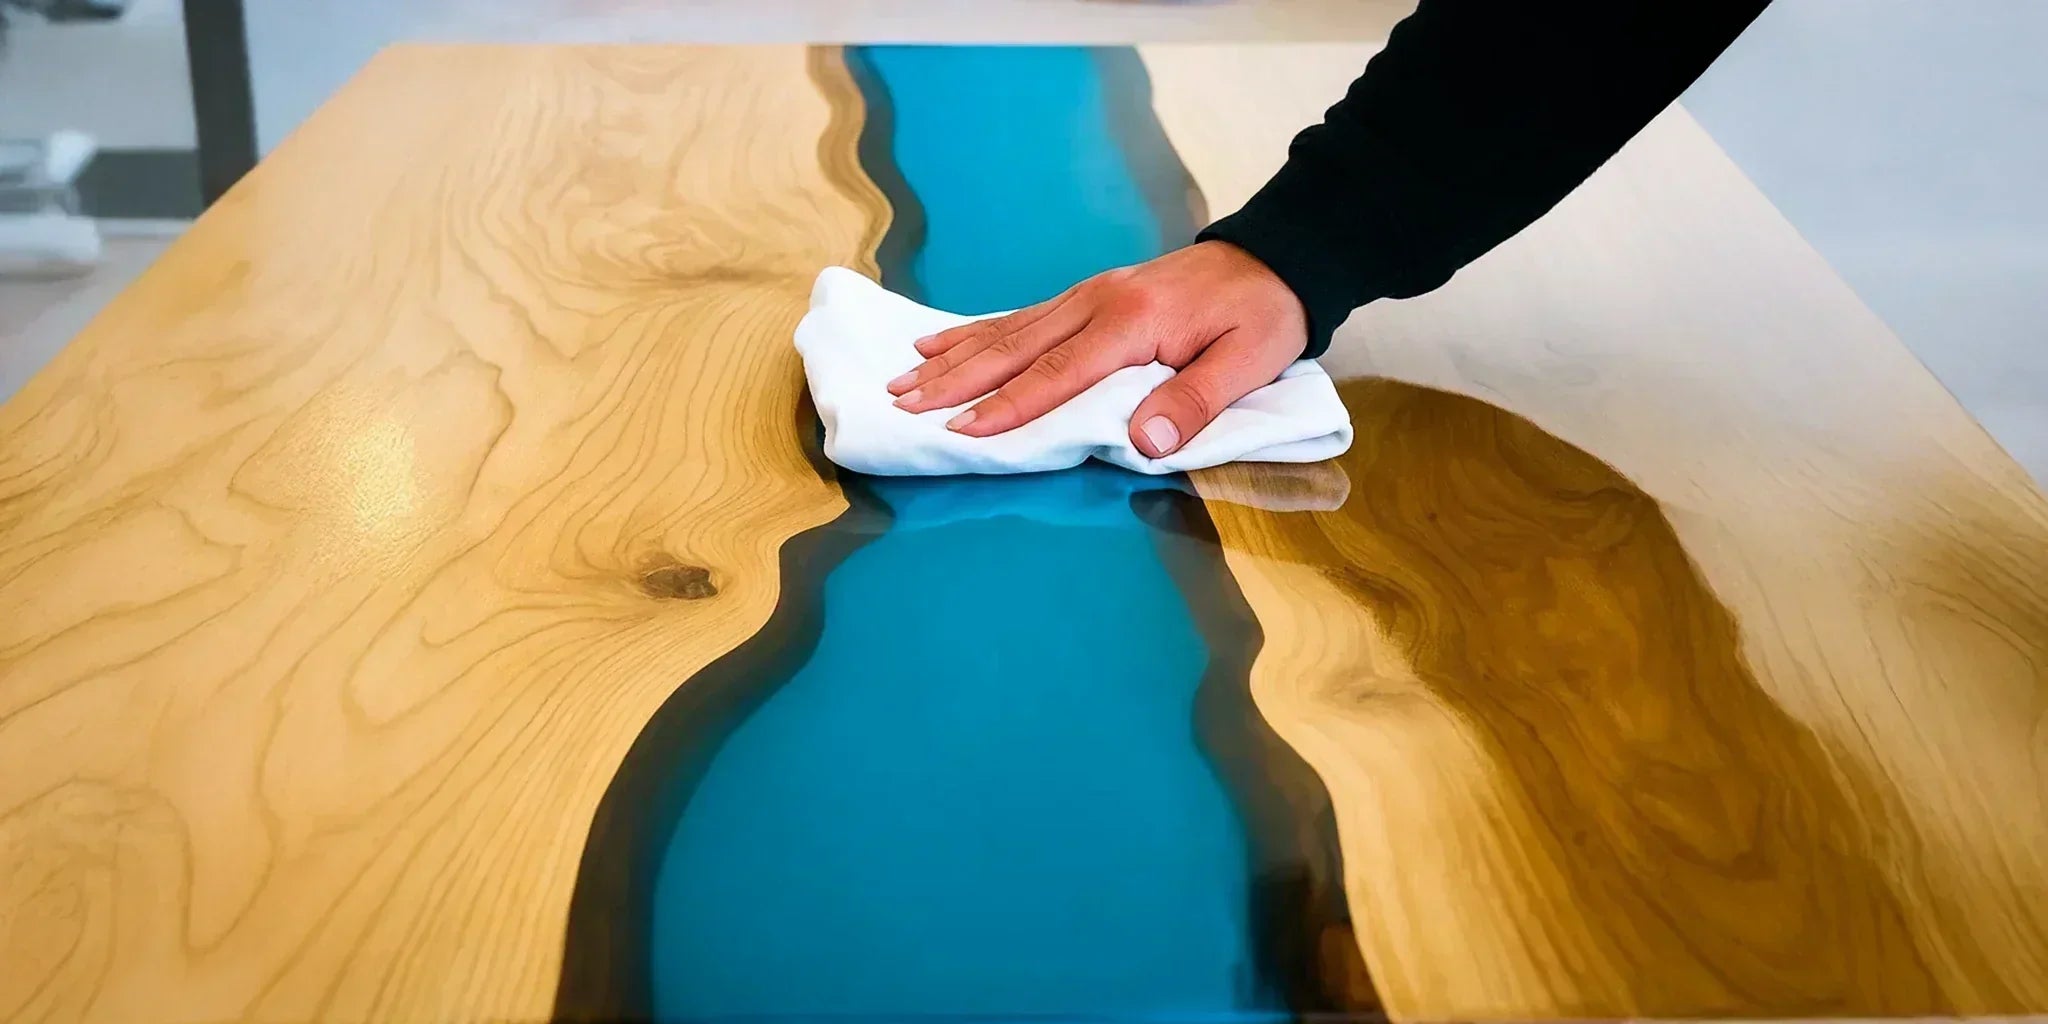
Once the epoxy resin has fully cured, you can perform further post-treatment steps as needed. Sand the surface to remove any imperfections and polish it for a smooth, glossy finish. Follow the recommended care instructions to ensure the durability and beauty of your epoxy resin surface. Avoid excessive heat or direct sunlight to prevent discoloration or warping of the resin.
Overall, mixing and using epoxy resin requires a certain degree of care and precision, but with proper preparation and knowledge of the basic steps, you can create fascinating and durable artwork and surfaces. Take the time to read and follow the instructions carefully, and be patient throughout the process to achieve the best results. With practice and experimentation, you will be able to further refine your epoxy resin skills and create unique works of art.


Please fill out the following form to declare your withdrawal from the contract.