SAME DAY SHIPPING ON WORKING DAYS UNTIL 2 PM!

Processing problems with epoxy resin – why they occur and how to solve them

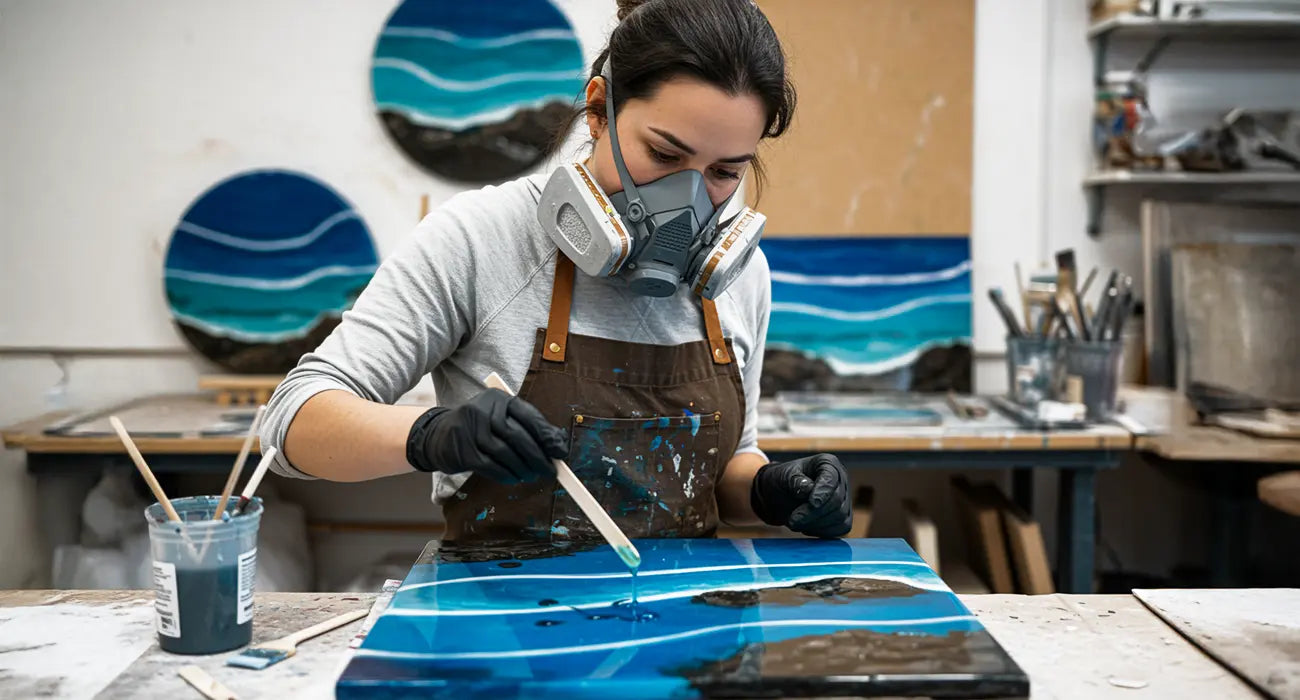
Epoxy resin impresses with its crystal-clear appearance and versatile applications – whether in art projects, furniture, or as a sealant. However, many users are familiar with the typical problems: bubbles in the epoxy resin , a sticky surface , or a milky film (amine blush) .

At Dein-Epoxidharz, we want to show you why these errors occur, how to avoid them, and what steps to take if they do happen. This way, your project is guaranteed to succeed.

Bubbles in epoxy resin – the most common challenge

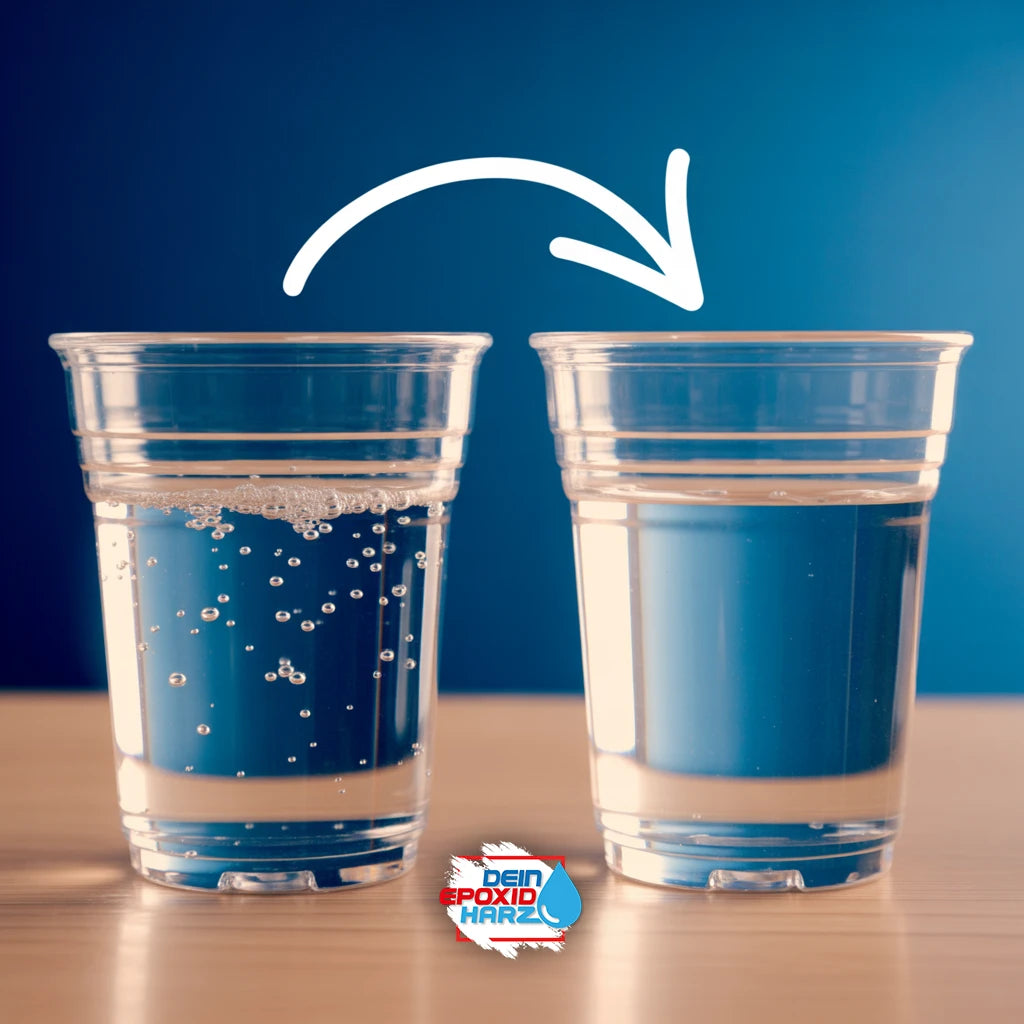
Bubbles in epoxy resin are one of the most common problems . They usually arise from air that gets into the mixture during mixing or escapes from the substrate. Wood, in particular, is known to release trapped air as soon as it comes into contact with resin. Resin that is too cold and has high viscosity also traps air bubbles for longer, preventing them from rising to the surface.

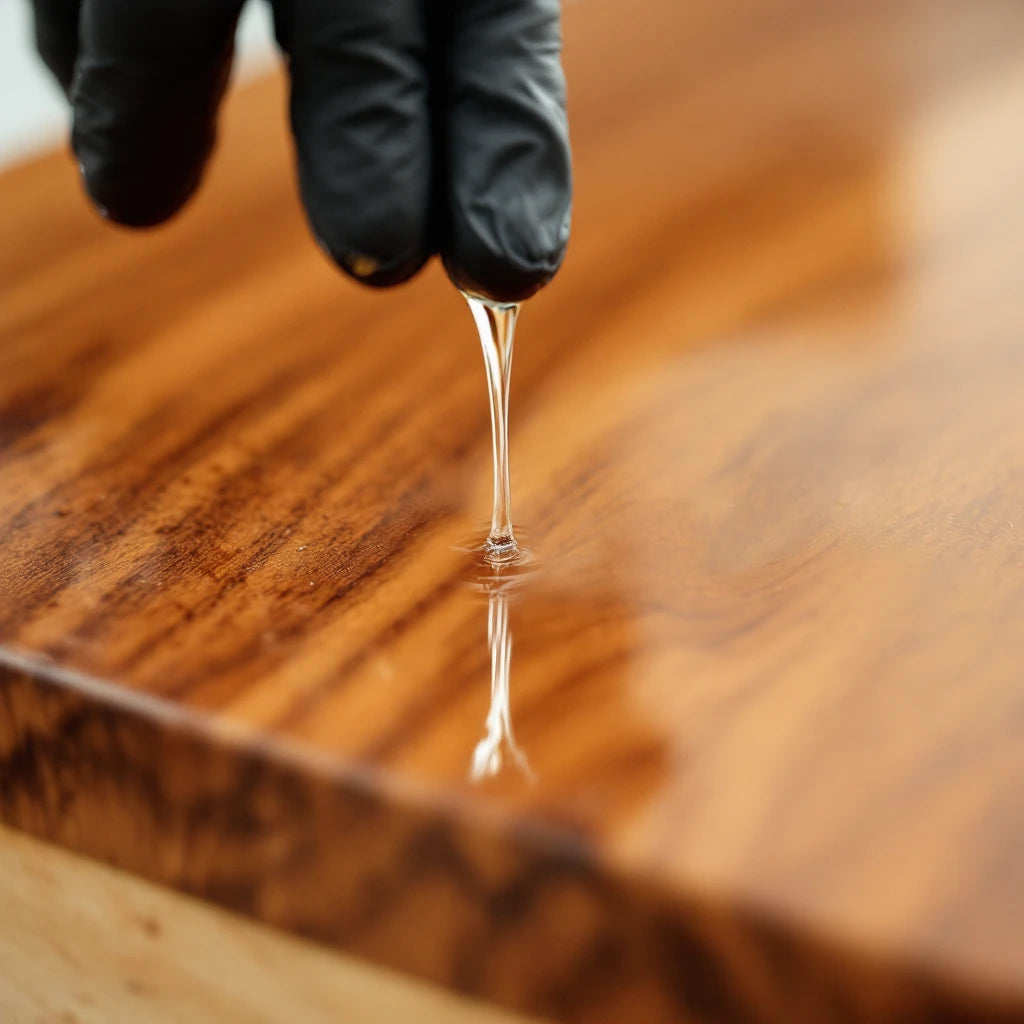
The good news: With the right approach, bubbles can be largely avoided. We recommend mixing the resin slowly and thoroughly, making sure to include the bottom and sides of the mixing container, without creating a foam. Allow the mixture to stand for a few minutes before pouring to allow any trapped air to escape. When working on wood, the surface should be sealed beforehand to prevent outgassing. If small bubbles do appear, they can easily be removed with a hot air gun or a brief exposure to a flame.

causes

  • Air that is incorporated into the mixture during stirring (fast, vigorous stirring).
  • Air escaping from porous surfaces (e.g., wood, 3D printing, fabric, paper, etc.).
  • Air that is bound in pigments, glitter, or fillers.
  • Temperature differences or cold casting materials (higher viscosity holds bubbles in place longer).

Immediate measures after watering

  • Flame / Hot air : Briefly pass a torch or hot air gun over the surface (not too close!), bubbles will burst.
  • Isopropyl spray : Very sparingly injected isopropanol helps to destroy small bubbles in some synthetic resins (e.g. this one ).
  • Toothpick : Use to puncture large, locally visible blisters and refill them.

prevention

  • Stir slowly and evenly , do not foam. While mixing, tap the container on the table several times to release any larger air bubbles.
  • Pre-blowing/degassing : Leave to stand for 5 minutes shortly after mixing so that the inclusions rise to the surface.
    (Pay attention to the thermal reaction when using universal epoxy resin E45!)
  • Mix small batches instead of large quantities at once.
  • Vacuum degassing for very bubble-sensitive applications (castings, jewelry).
  • Gently heating the casting compound in a water bath (keeping the cup warm at max. 30–35 °C) can reduce viscosity and allow bubbles to escape.

Sticky surface – the most common cause lies in the mixing ratio

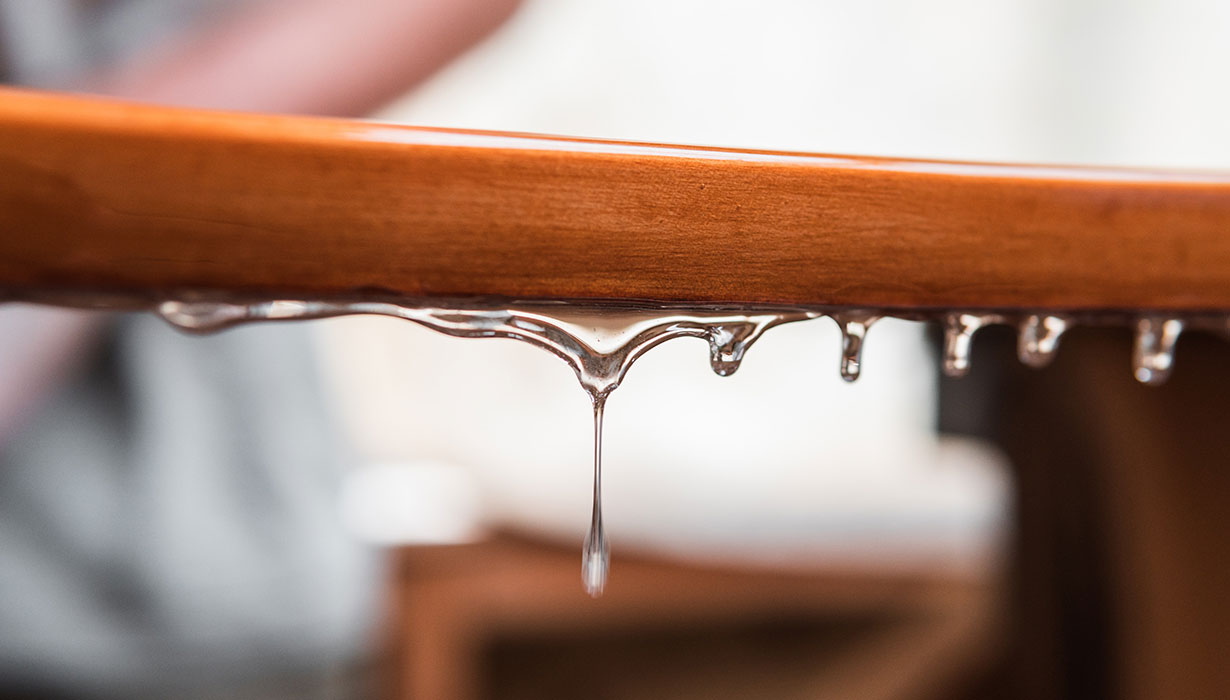
A second, widespread problem is a sticky or soft surface after curing. Almost always, the cause lies in an inaccurate mixing ratio of resin and hardener, or in uneven stirring. Even small deviations result in an incomplete chemical reaction. Too low a temperature or high humidity can also interfere with curing.

To avoid this, we generally recommend measuring by weight, never by volume (except for the Resin Art Series) . This is the only way to ensure that the resin and hardener are in the exact ratio. Furthermore , mix thoroughly and for a sufficient amount of time until a uniform mixture is achieved. If a sticky spot does occur, patience is the most important first step: Curing can still be completed at room temperature. If the surface remains sticky even after a longer period, light sanding and applying a new, correctly mixed layer of epoxy resin will help.

causes

  • Incorrect mixing ratio (resin/hardener measured inaccurately).
  • Insufficient mixing (edges/bottom not mixed).
  • Excessive humidity during curing or condensation (causes disruptions in the reaction).
  • Temperature that is too low or too high during curing.

Immediate measures

  • Be patient: Some resins take longer; increase the temperature in a controlled manner (e.g. to 22–25 °C) to promote the reaction.
  • Slight heat boost: If the system is suitable, moderate room heating (no open flame) can accelerate the final hardening process.
  • Sanding & Coating: If the surface is still sticky after a very long time, sand it (finely) and pour over a fresh, correctly mixed layer.

Avoidance

  • Accurate measurement by weight (except for the Resin-Art Series) using scales. Many errors occur due to volume measurement or inaccurate measuring.
  • Mix thoroughly : for at least the specified time, slowly and evenly, stirring to remove all traces of the mixture from the sides and bottom. Transfer to a new mixing container and stir again.
  • Working environment : keep relative humidity preferably below ~50–60%; dry room, use dehumidifier if necessary.
  • Temperature : Follow the product instructions (usually 18–25 °C). Very cold conditions will slow down or prevent curing.

Amine blush – when the surface suddenly appears milky

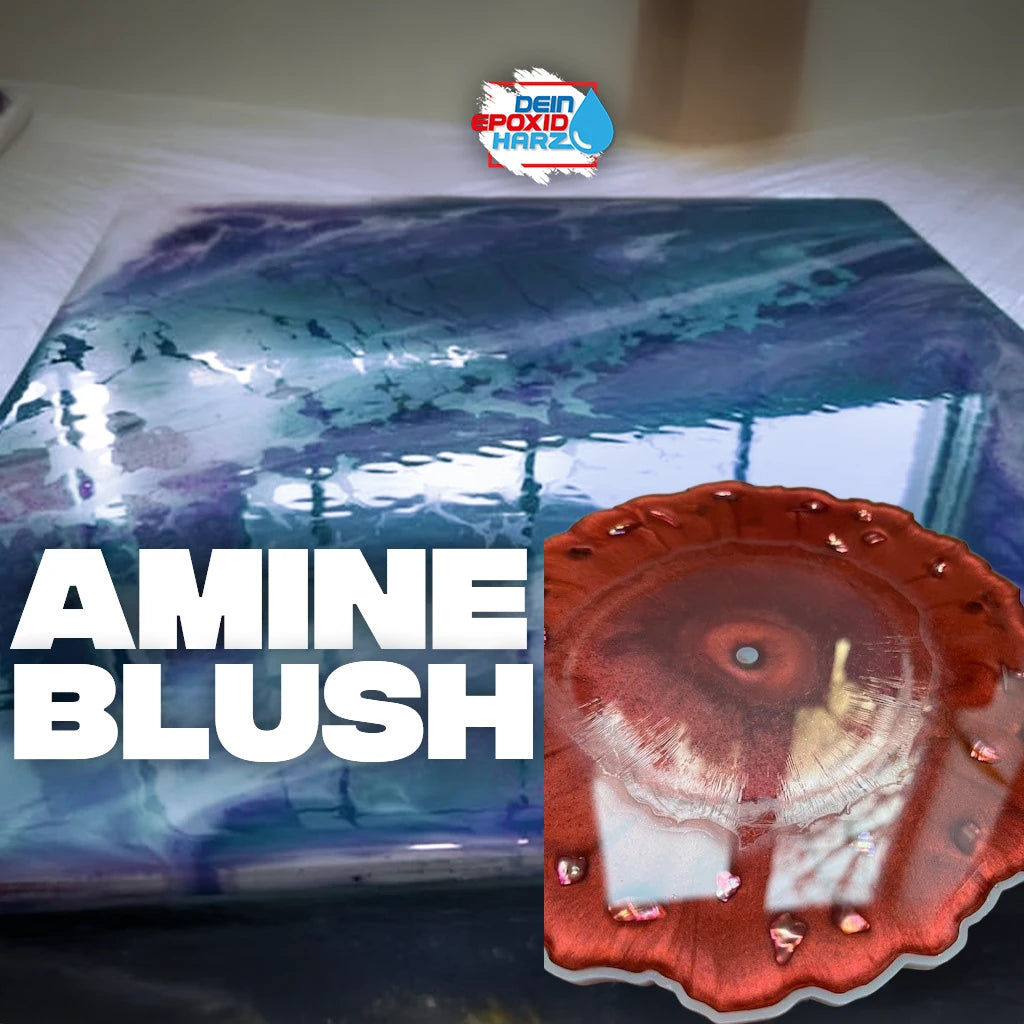
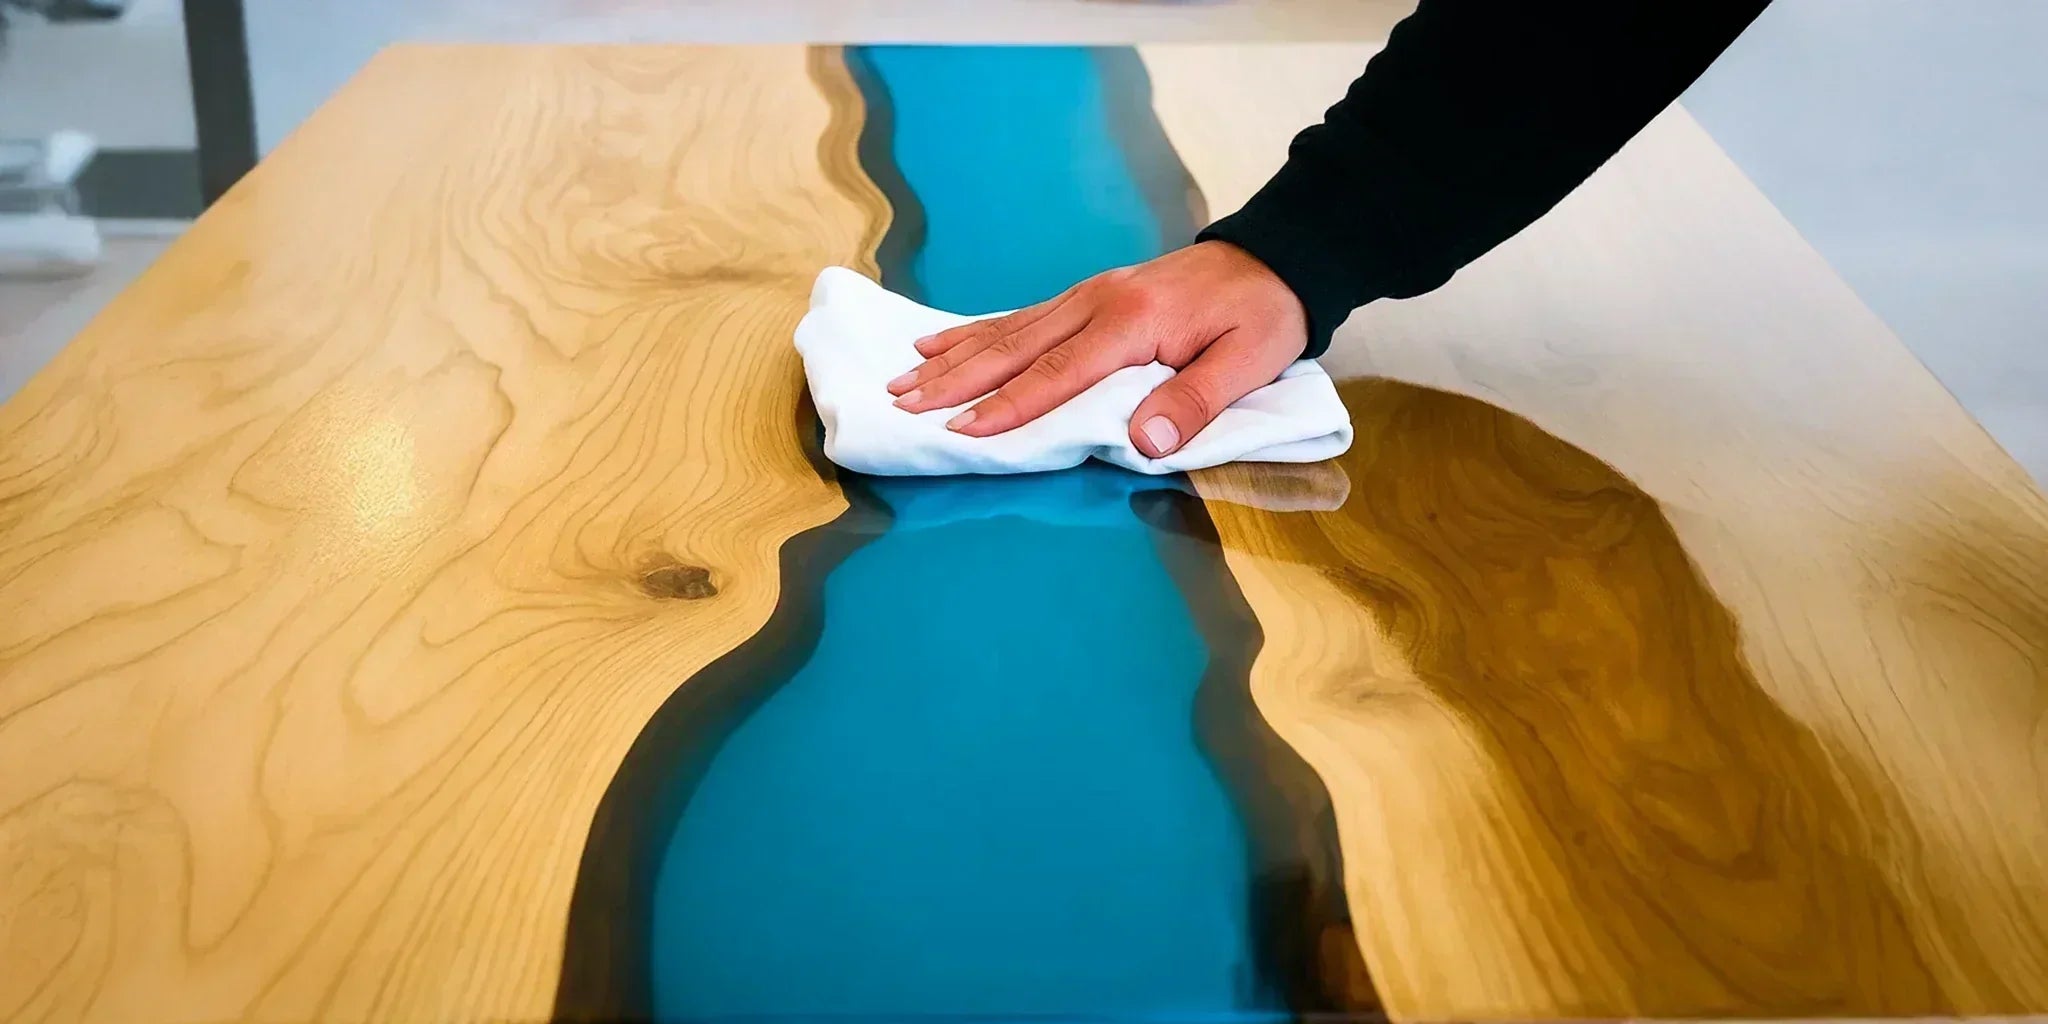
Another phenomenon that initially unsettles many users is the so-called amine blush. This is a waxy, sometimes milky-white layer that settles on the surface. It is caused by the reaction of the hardener with moisture and carbon dioxide from the ambient air. The result is unsightly, but does not affect the stability of the resin.

Removal is simple : Warm water and a little soap are usually enough to loosen the coating. Afterwards, the area should be thoroughly dried and lightly sanded before applying another layer of resin. Amine blush can therefore be easily removed if you know how to deal with it.

causes

Amine blush occurs when the amines contained in the hardener react with humidity and carbon dioxide during curing. This results in the formation of a milky-white, sometimes waxy film on the surface. The problem is particularly common when working in high humidity or in excessively cold rooms.

Immediate measures after watering


Fortunately, amine blush is easy to remove:

  • Thoroughly wash the surface with warm water and a little dish soap .
  • Then rinse with clean water and allow to dry thoroughly .
  • Then lightly sand the surface (e.g. with fine sandpaper) and apply a new layer of epoxy resin as a topcoat.

prevention

To prevent amine blush from forming in the first place, it helps to control working conditions:

  • Work in a dry room with the lowest possible humidity (< 60%).
  • Keep room temperature within the recommended range (usually 20–25 °C).
  • Allow the resin and hardener to reach room temperature before processing.
  • Avoid processing in near-dew point or very cold conditions.